
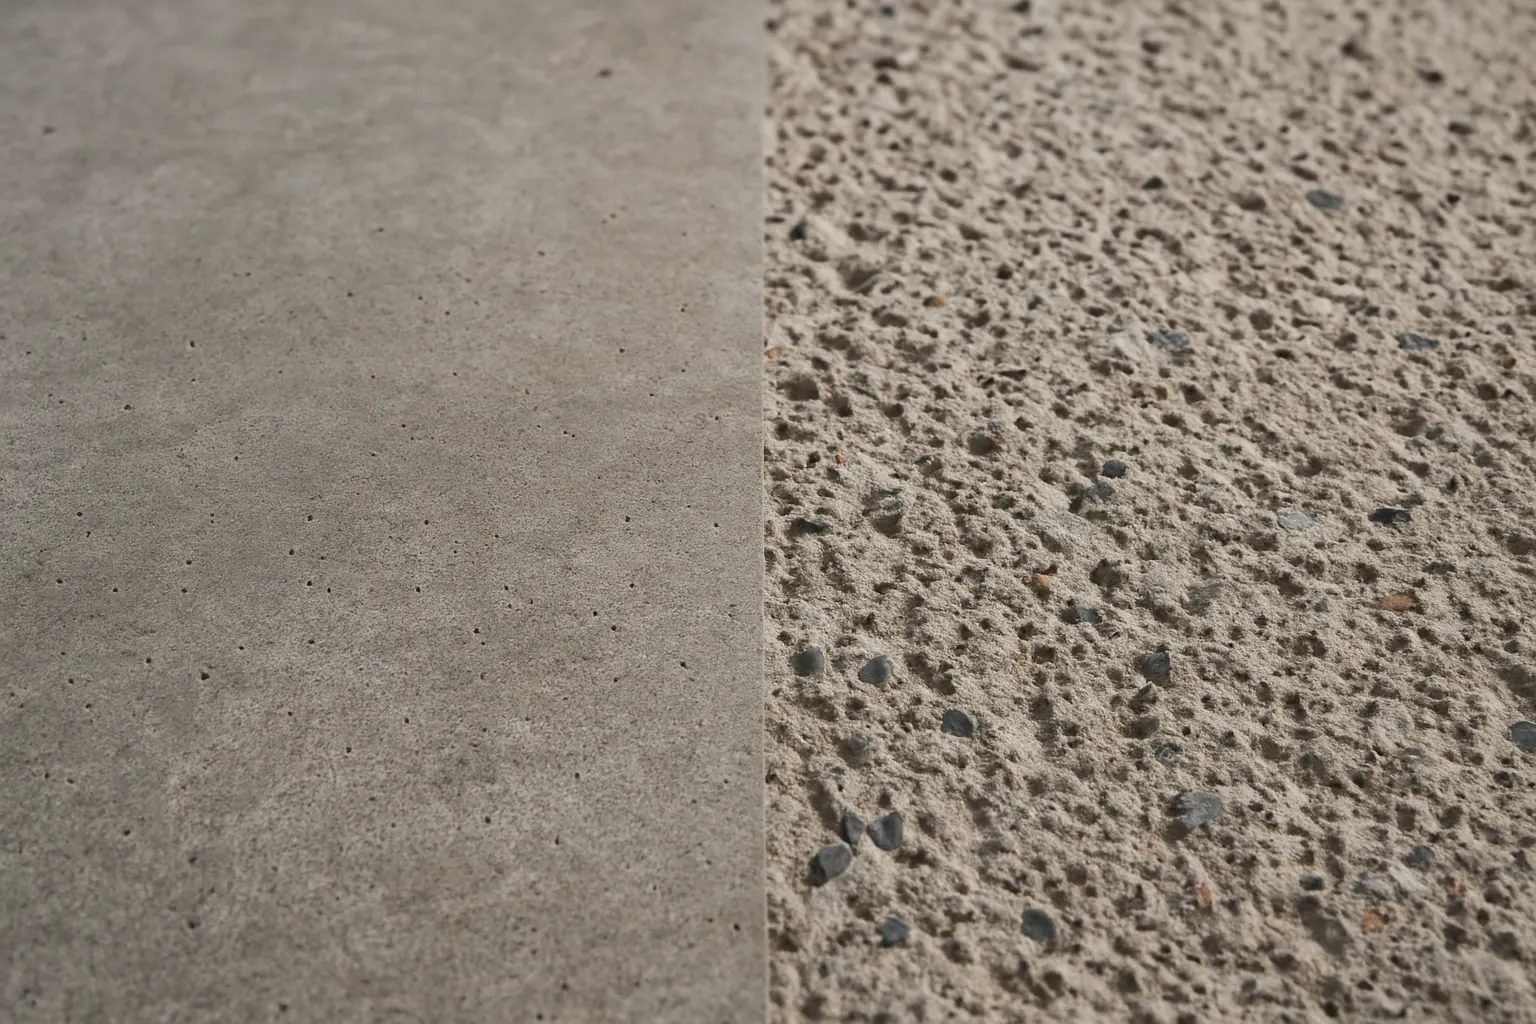
Almost every failed commercial epoxy floor we get called to look at failed at the bond line. The coating itself was fine. The concrete underneath was fine. What sat between them was not. In nearly every one of those cases, the surface profile was wrong — either never created, created with the wrong tool, or created and then contaminated before the primer went down.
Concrete Surface Profile, or CSP, is the industry’s way of putting a number on how rough a prepared concrete surface is. It exists because “clean and dry” is not a specification. It is an opinion. CSP replaces the opinion with something a facility manager, a general contractor, and an installer can all point at and agree on before a single gallon of resin is opened.
This article explains what the CSP scale actually is, how each level gets created, how to match profile to the system you are installing, and how to verify it on your own floor without taking anyone’s word for it. If you are specifying or buying commercial and industrial epoxy floor installation, this is the single technical concept most worth understanding.
What CSP actually measures
CSP stands for Concrete Surface Profile. The scale was published by the International Concrete Repair Institute (ICRI) and runs from CSP 1 through CSP 10, where CSP 1 is nearly smooth — the texture of concrete that has been lightly acid etched — and CSP 10 is deeply fractured, closer to the surface of exposed aggregate.
ICRI sells a set of moulded rubber replica chips, one per profile level. You lay the chip on the prepared slab and compare. It is a tactile and visual comparison, not an instrument reading, and that is deliberate: what matters is not a precise micron depth but whether the surface has enough mechanical texture for the coating to key into.
The reason profile matters comes down to how coatings actually adhere to concrete. Epoxy does not chemically weld itself to a slab. It flows into the open pores and micro-fractures of the surface, cures, and locks in place mechanically. More surface area means more grip. A smooth, troweled, or burnished slab gives the resin almost nothing to hold. That is why a beautifully finished warehouse floor is often the hardest one to coat successfully — the power trowel closed the surface off.
Why the spec gives a number instead of a verb
Bad specifications say “prepare the substrate per manufacturer instructions.” Good specifications say “prepare to a minimum CSP 3 by diamond grinding, verified against ICRI replica chips prior to priming.”
The difference is enforceable. If the profile is a stated number, a walk-through before priming settles the question in about ninety seconds. If it is a verb, everyone argues after the floor has already peeled.
This matters more on commercial work than most buyers realize, because prep is the line item bidders cut when they need to win on price. Grinding takes time, dust containment, and consumables. A crew that skips a pass, or switches from grinding to a quick chemical wash, saves real money on bid day and hands you the bill three years later. Requiring a verified CSP is the cheapest quality control you will ever specify. It is also why our crews self-perform every step rather than subbing prep out — the crew that grinds the floor is the crew that has to warranty it.
The CSP scale, level by level
You will not use all ten in commercial coating work. Levels 1 through 5 cover the vast majority of thin-film and mid-build epoxy systems. Levels 6 and up belong to mortars, overlays, and heavy self-levelers.
| CSP level | Typical method | Texture reference | Commonly specified for |
|---|---|---|---|
| CSP 1 | Acid etching | Fine sandpaper | Rarely adequate for commercial coatings |
| CSP 2 | Light grinding | Medium sandpaper | Thin sealers, some penetrating primers |
| CSP 3 | Diamond grinding | Coarse sandpaper | Thin-film epoxy and polyaspartic, roughly 4–10 mils |
| CSP 4 | Light shot blasting | Fine sand texture | Mid-build epoxy, broadcast quartz and flake systems |
| CSP 5 | Shot blasting | Coarse sand texture | Heavier build coats and slurry primers |
| CSP 6–7 | Heavy shot blasting, scarifying | Visible aggregate tips | Self-leveling epoxy, thin urethane mortar |
| CSP 8–10 | Scabbling, hydrodemolition, milling | Exposed and fractured aggregate | Urethane cement mortars, heavy repair overlays |
The general rule is simple and worth memorizing: the thicker the system, the deeper the profile. A thick coating shrinks more as it cures and carries more thermal mass, so it pulls harder on the bond line and needs a deeper anchor. A 6-mil roll-applied topcoat over a CSP 7 profile, by contrast, will telegraph every stone in the slab and may not even fill the valleys.
How profile gets created
Diamond grinding
Grinding uses rotating diamond-segment tooling to abrade the top layer of the slab. It is the workhorse of commercial prep because it does two jobs at once: it removes laitance, curing compounds, and old coatings, and it leaves a controlled, consistent profile. Segment bond and grit determine how aggressive it is — a soft-bond metal segment on hard Chicagoland slabs cuts far better than a hard bond, which will glaze over and polish instead of cutting.
Grinding also handles edges, corners, and coving transitions that a shot blaster physically cannot reach. Any prep plan that relies purely on blasting still needs grinders and hand tools for the perimeter, around drains, at column bases, and up the wall where food and beverage plants require integral coving.
Shot blasting
Shot blasting fires steel shot at the slab under a shroud and recovers the shot and dust magnetically. It is fast, produces very consistent profile across open floor area, and generates far less airborne dust than grinding, which matters in occupied buildings. It is the right tool for large open bays in a warehouse or distribution facility.
Its limitation is that it leaves a linear pattern if the operator overlaps carelessly, and it cannot cut through thick, elastic old coatings — the shot bounces off soft membranes instead of fracturing them. On a floor with a failed prior coating, grinding usually leads and blasting follows.
Scarifying and shot-and-grind combinations
Scarifiers use hardened steel cutter wheels to chew into the slab. They create CSP 6 and above quickly, and they are the answer for removing thick mastic, heavy build-up, or badly out-of-flat areas. They also leave a rough, tracked surface that generally needs a follow-up grind before a thin coating goes on.
What acid etching does not do
Acid etching is popular in residential DIY and has almost no place in commercial and industrial work. It produces at best a CSP 1, it does not remove curing compounds or embedded oils, and it leaves salts behind that must be fully neutralized and rinsed — which means introducing a large volume of water into a slab you are about to seal. On an oil-saturated automotive service floor, etching mostly just wets the contamination and drives it deeper.
Matching profile to the system you are installing
Profile is not a standalone decision. It is downstream of the system, which is downstream of what the room actually does. A few practical pairings:
- Thin-film clear or pigmented coatings in retail back-of-house, light assembly, or corridors: CSP 2–3, achieved by grinding.
- Broadcast flake or quartz systems in healthcare, labs, and locker areas: CSP 3–4, so the base coat has grip and the broadcast media seats properly.
- Mid-build industrial epoxy under forklift and pallet-jack traffic: CSP 4–5, typically shot blasted with ground perimeters.
- Self-leveling epoxy at 60 mils and up: CSP 5–6, plus full moisture qualification because a thick, dense film is far less forgiving of vapor drive.
- Urethane cement mortar in wet processing and thermal-shock areas: CSP 6–9, because the mortar is placed by trowel and needs deep mechanical key.
If you want to understand why film thickness drives all of this, the companion article on mil thickness and 100% solids covers how a system’s build and shrinkage behavior relate to what the substrate has to hold. And if you are still deciding between chemistries, the comparison of epoxy, polyaspartic, urethane and polyurea explains which systems need which prep.
Verifying profile before anything gets primed
Do not accept “it’s ground” as a status update. Verification takes minutes and is the last cheap moment in the project.
- Replica chip comparison. Lay the ICRI chip directly on the prepared surface in several locations — open field, near columns, at doorways, along walls. Profile varies by zone because prep equipment behaves differently in each.
- Look for shine. Any area that still reflects light has not been opened. Polished spots usually mean a hardened or densified area the tooling skated over, or a diamond bond that is too hard for the slab.
- Water drop test. Drop clean water on the prepared surface. It should darken and absorb within seconds. If it beads, something is still sealing the slab — a curing compound, silicate densifier, or residual sealer.
- Test patch and pull. On critical or questionable floors, apply a small primer patch, let it cure, and pull it. A formal adhesion pull test to ASTM D7234 with a portable dolly tester gives a number; a hand-pulled tape patch at least gives you a warning.
- Check the edges. Perimeters, drain surrounds, and door thresholds fail first because they are prepped last and fastest.
Where CSP goes wrong on real Chicagoland floors
The buildings we work in around Chicago and the surrounding suburbs are rarely blank slates. A few recurring situations:
Densified and polished slabs. Lithium or sodium silicate densifiers harden the top few millimeters. Standard tooling glides across them. These floors need softer-bond diamonds and more passes, and the crew has to keep checking profile rather than assuming a set number of passes did the job.
Curing compounds. New construction slabs are often sprayed with a membrane-forming cure and seal. It is invisible once dry, it prevents adhesion completely, and the only reliable answer is mechanical removal to full profile — not solvent wiping.
Oil-saturated substrate. In older machine shops and truck bays, oil has migrated deep. Grinding to profile exposes clean-looking concrete that begins weeping oil back to the surface within hours. That floor needs degreasing, sometimes localized removal, and an oil-tolerant primer — profile alone will not save it.
Patches and spalls. Repair mortar and original slab take profile differently and absorb primer differently. A floor that is 20% patched needs the repairs done first, cured, then profiled together with the surrounding slab.
Old coatings that are still partially bonded. The tempting move is to scuff-sand and recoat. If the existing coating’s bond is inconsistent, the new system is only as strong as the weakest patch under it. This is one of the most common root causes covered in our breakdown of why epoxy floors fail.
Profile and moisture are a single conversation
Opening the surface to CSP 3 or 4 does something else besides create grip: it removes the slab’s own surface resistance to vapor movement. A ground floor will often test higher for moisture vapor emission than the same floor did before prep, because you took off the layer that was slowing the vapor down.
This is why profile and moisture testing belong in the same conversation and the same schedule. Grind first, then test, then choose the system — including whether a moisture-mitigating primer is required. Running it in the other order produces numbers that do not describe the surface you are actually coating. Our guide to concrete moisture testing and MVER walks through the test methods and what the numbers mean in practice.
What to put in your specification
If you are writing or reviewing a scope of work, these lines do most of the heavy lifting:
- Required minimum CSP, stated as a number, with the acceptable methods named.
- A requirement that all existing coatings, sealers, curing compounds, and densifiers be mechanically removed.
- A hold point: profile verified against ICRI replica chips and approved before priming begins.
- Moisture testing performed after prep, with results submitted before system selection is finalized.
- Named treatment for cracks, joints, spalls, and patches, and who owns that scope.
- Dust and containment requirements, plus how the shot or slurry gets removed from the building.
- Documentation: photos of prepared substrate, chip comparisons, and moisture results attached to the closeout package.
None of that is exotic. It is the same list a competent installer is already working from, which makes it a fast way to tell serious bidders from optimistic ones. The full sequence is laid out in our walkthrough of the commercial epoxy floor installation process.
Frequently Asked Questions
Can you tell CSP by looking at a photo?
Not reliably. Profile is as much tactile as visual, and photos flatten texture badly. A photo can show you obvious problems — shiny areas, tracking marks, leftover coating — but the chip comparison has to happen on the floor, in person, in several locations.
Is more profile always safer?
No. Over-profiling a floor that is getting a thin coating wastes material, telegraphs texture through the finish, and can leave the slab too open to prime evenly. Deep profile also removes more concrete than necessary, which matters if the slab has a thin wear layer or embedded conduit near the surface. Match the profile to the system.
How much concrete does grinding actually remove?
Typically a very thin layer — the goal is to open the surface, not to reduce slab thickness. Removal is deeper when old coatings, mastic, or heavy contamination have to come off, and deeper still with scarifying. If slab thickness or embedded utilities are a concern, that should be raised before prep starts.
Can profile be created without shutting down the whole building?
Usually yes. Most industrial and commercial projects get sequenced into zones so production continues in the areas not being worked. Shot blasting with proper vacuum recovery and grinding with HEPA dust collection both allow work to proceed adjacent to occupied space. Sequencing options are covered in our article on minimizing facility downtime during an epoxy floor installation.
What if the concrete is brand new?
New concrete still needs profile. In fact it often needs the most attention, because fresh slabs carry laitance — the weak, fine layer that rises during finishing — plus whatever cure and seal was applied. New slabs also need time and moisture testing before coating. Grinding removes the laitance and gives you a real surface to bond to.
Does the profile requirement change between systems?
Yes, and it should. Every coating system published by a manufacturer states a minimum profile. Our crews match prep to the specific system being installed, whether that is National Armour 100 in a light industrial bay or a heavier build in a manufacturing plant running around the clock.
Get the profile right before anything gets poured
Surface profile is the least glamorous part of a floor and the part that determines whether you are recoating in fifteen years or in three. National Epoxy has been installing commercial and industrial floors for over 30 years, and our crews self-perform every step — prep, priming, build coats, and topcoats — across Chicagoland, Northwest Indiana, and Southeast Wisconsin.
If you have a floor that needs to be coated, recoated, or diagnosed, we will walk it with you, test it, and tell you what profile and system it actually needs. Reach out through our contact page or call (630) 919-5000.