
Concrete never really dries. A slab on grade is a wick connected to the ground, and it will move water vapor upward for as long as the building stands. Every resinous floor installed over that slab is a lid on the process. Whether the lid holds depends on a number almost nobody measures until after a floor has already failed.
Moisture vapor emission is the leading cause of epoxy delamination on slabs on grade, and it is the one root cause that is fully knowable before a single pail is opened. Testing costs a fraction of a percent of a commercial floor installation. Skipping it is a bet against physics.
This article covers what MVER actually measures, the two recognized test methods and when each applies, how many tests a given square footage requires, what the numbers mean against manufacturer limits, and what your options are when the readings come back too high.
What Moisture Vapor Emission Actually Is
Water inside concrete exists in two forms: chemically bound water that is part of the cured cement paste, and free water sitting in the capillary pore structure. The bound water is not going anywhere and does not matter to your coating. The free water does. It migrates toward the lower-humidity side of the slab — normally the top — evaporates at the surface, and leaves as vapor.
An uncoated slab handles this invisibly. Vapor exits, the room’s HVAC carries it away, and nothing happens. Install a low-permeance epoxy film and the vapor hits a barrier. It accumulates at the bond line. Along the way it dissolves alkaline salts in the concrete, creating a solution with higher ionic concentration than the water arriving behind it, and osmotic pressure develops across the film. That pressure can exceed the coating’s adhesive strength, at which point the floor blisters and then delaminates.
The mechanics are why “it looked dry” means nothing. A slab surface can be bone dry to the touch and still be emitting well beyond what a conventional epoxy can tolerate.
Where the water comes from
- Construction water. Concrete is batched with more water than hydration consumes. New slabs shed the excess for months.
- Ground water. Slabs on grade over a missing, punctured, or improperly lapped vapor retarder are permanently connected to soil moisture. This is the source that never stops.
- Water table and drainage. Seasonal groundwater rise, poor site drainage, and downspouts discharging near the foundation all change readings month to month.
- Wet-slab practices. Slabs poured directly on granular fill without a retarder, common in older Chicago-area industrial buildings, behave very differently from a modern slab over a 15-mil retarder.
The Two Recognized Test Methods
ASTM F1869 — Calcium Chloride (the MVER test)
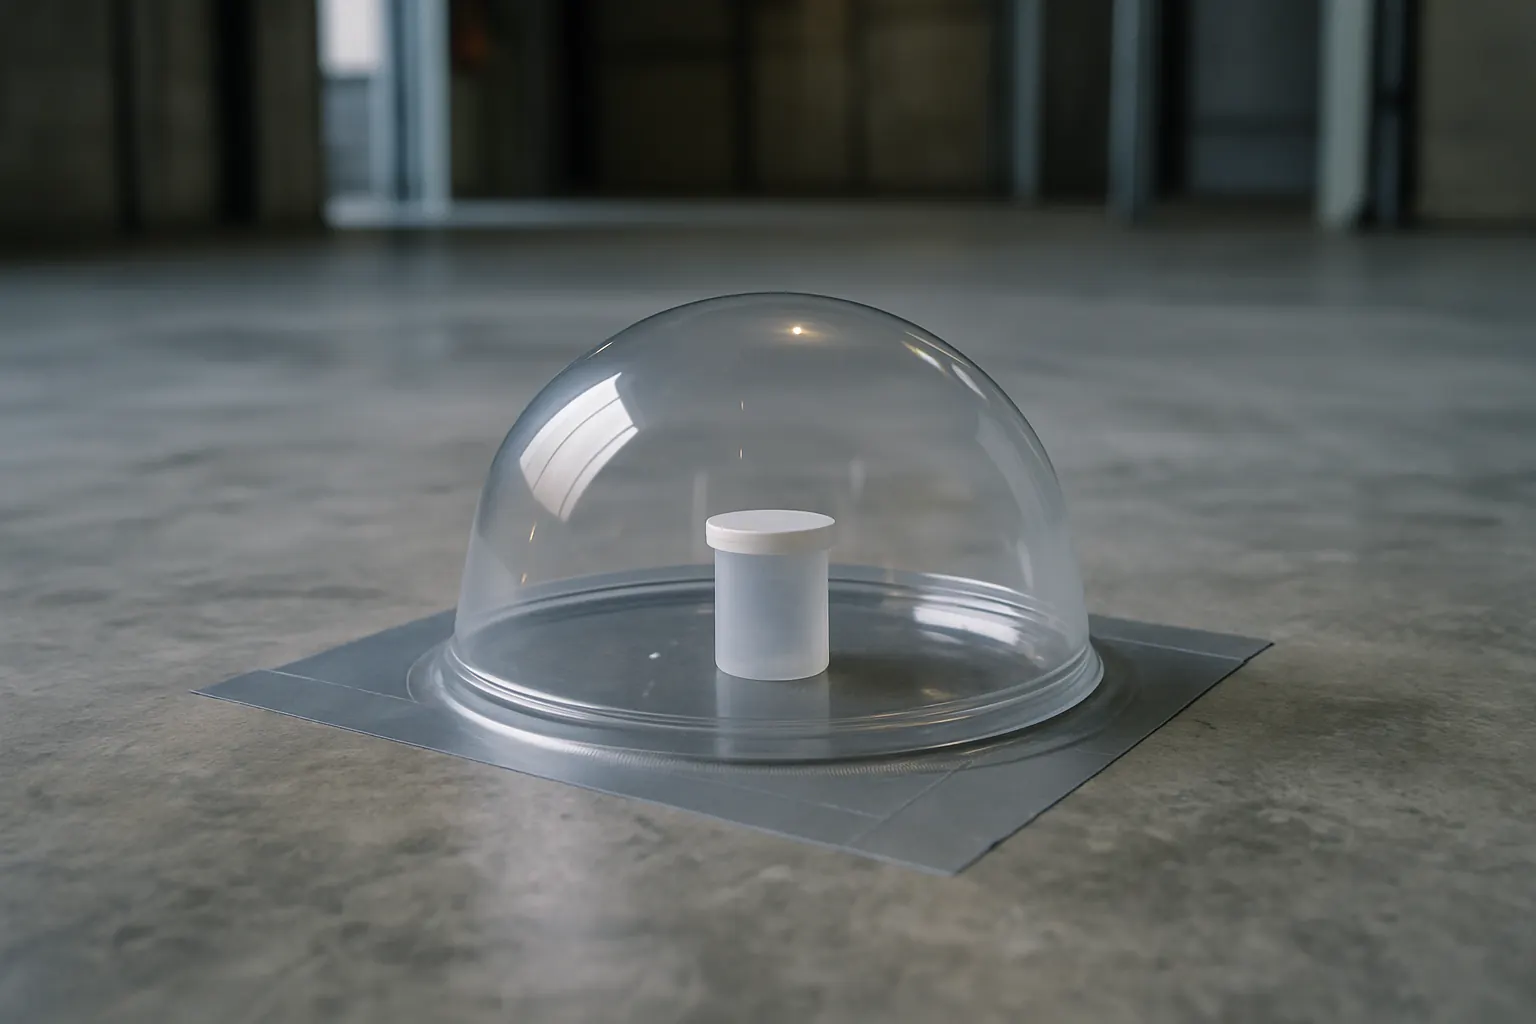
The anhydrous calcium chloride test is where the term MVER comes from. A pre-weighed dish of desiccant is placed on the bare slab under a sealed plastic dome for 60 to 72 hours. The desiccant absorbs vapor emitted from the slab. Weigh it again, run the calculation, and you get an emission rate in pounds of water per 1,000 square feet per 24 hours.
Requirements that get ignored and invalidate results:
- The slab surface must be clean, bare concrete — no coatings, sealers, adhesives, or curing compound. Light grinding of the test area is usually required.
- The building must be at service temperature and humidity for at least 48 hours before and during the test, ideally 75°F ±10° and 50% RH ±10%.
- Test kits have shelf lives and the dome seal has to be intact.
- The method is only valid on normal-weight concrete. It is not appropriate for lightweight or gypsum-based substrates.
The honest limitation of F1869: it measures emission from roughly the top half-inch to three-quarters of an inch of slab. If that top layer has dried out — say after a stretch of dry heating season — the test can read low while the slab’s interior is still loaded with water that will come up later.
ASTM F2170 — In-Situ Relative Humidity Probes
The RH method drills holes into the slab, installs sleeves, lets them equilibrate, and reads relative humidity inside the concrete. For a slab drying from one side (the typical on-grade case), holes go to 40% of slab depth. For a slab drying from both sides, 20% of depth.
Equilibration matters: the sleeve needs a minimum period — commonly 24 hours under the current standard — before the reading is meaningful. Reading too early gives an artificially low number.
F2170 is generally considered the more reliable predictor because it tells you the moisture condition of the slab as a whole, not just the skin. Once the slab is coated, the internal RH will migrate toward equilibrium behind the film, so knowing that internal value tells you what the coating will eventually face.
What about a moisture meter?
Handheld impedance and pin meters are useful for screening — finding wet spots, comparing relative conditions across a slab, deciding where to place the real tests. They are not a substitute for F1869 or F2170, and no coating manufacturer accepts a meter reading as a qualifying test. Use them to find where to test, never to decide whether to test.
How Many Tests, and Where
Both standards specify minimum test counts, and both are commonly ignored on commercial jobs where somebody runs three tests in the middle of a 40,000 square foot slab and calls it done.
| Slab area | ASTM F1869 minimum | ASTM F2170 minimum |
|---|---|---|
| First 1,000 sq ft | 3 tests | 3 probes |
| Each additional 1,000 sq ft | 1 additional test | 1 additional probe |
| 10,000 sq ft | 12 tests | 12 probes |
| 50,000 sq ft | 52 tests | 52 probes |
Placement matters as much as count. Distribute tests across the area and deliberately include the locations most likely to read high:
- Near exterior walls and below-grade portions.
- Low spots and areas where water is known to stand.
- Over or near plumbing penetrations, abandoned drain lines, and trench backfill.
- Slab sections poured at different times or by different contractors.
- Areas that have previously shown blistering, efflorescence, or dark staining.
- Under equipment pads and racking that will trap vapor after installation.
One high reading in a 50-test set is not noise — it is a map of where your floor will fail. Treat it as a zone to mitigate, not an outlier to average away.
Reading the Numbers Against Manufacturer Limits
There is no universal pass/fail threshold. The number that governs is the limit published on the data sheet of the specific system being installed. That said, the ranges below reflect where most conventional resinous systems sit and give a useful sense of scale.
| Typical range | F1869 (lbs/1,000 sq ft/24 hr) | F2170 (internal RH) | Practical implication |
|---|---|---|---|
| Comfortable | Under about 3 | Under about 75% | Most conventional systems are within limits |
| Marginal | About 3–5 | About 75–85% | Many systems require a moisture-tolerant primer |
| Elevated | About 5–8 | About 85–95% | Vapor-suppression membrane generally required |
| High | Above about 8 | Above about 95% | High-performance mitigation, plus investigate the source |
Those figures are industry-general and approximate. Always verify against the actual system data sheet before making a decision — and get the reading in writing, because a manufacturer’s material warranty is typically void without documented test results.
Also test pH. Moisture problems bring alkalinity with them, and surface pH above roughly 11 can attack some resin chemistries directly. A simple distilled-water and pH-strip check per ASTM F710 takes minutes.
When Readings Come Back High: Your Real Options
Option 1: Wait (rarely the answer)
On a new slab still shedding construction water, additional drying time genuinely helps. A common industry rule of thumb is roughly 30 days of drying per inch of slab thickness under good conditions, and conditions are frequently not good. But on a slab on grade with no functioning vapor retarder, waiting accomplishes nothing. The source is the ground and it is not going to run out.
Option 2: Moisture-mitigating primer or vapor-suppression membrane
This is the standard, defensible answer. A high-solids epoxy membrane engineered specifically to suppress vapor drive is applied to the prepared slab, then the flooring system goes over it. These products are rated to specific MVER and RH levels — you select the product against your measured number, not against a guess.
Mitigation is not a coat of ordinary primer applied a little thicker. It is a different product class with published performance against vapor pressure, and it requires the same aggressive surface preparation as the floor itself. Applying it over an inadequate profile just moves the failure interface.
Option 3: Change the system
Some systems tolerate more moisture than epoxy by design. Cementitious urethane mortars, for example, are considerably more forgiving of vapor drive because of their permeability and their thickness. In a wet food and beverage processing environment with daily washdown and a marginal slab, specifying a urethane mortar can be the smarter answer than layering mitigation under a thin epoxy.
Option 4: Fix the source
Sometimes the moisture is not inevitable. Downspouts discharging at the foundation, failed exterior drainage, a broken underslab line, or a landscape grade that slopes toward the building all raise readings and can be corrected. It is worth ten minutes walking the exterior before spending five figures on mitigation.
Building Moisture Testing Into the Project Correctly
The sequence that avoids arguments:
- Test early, during design or bid — not the morning prep starts. Test results change the scope and the price, and finding that out on installation day means a change order and a delay.
- Condition the building first. HVAC at service conditions for at least 48 hours, or the readings describe a building that does not exist.
- Prepare the test areas. Bare, clean concrete. Grind off sealers and coatings at each test location.
- Run the full required count and document locations on a plan.
- Retest if there is a long gap between testing and installation, or if the season changed.
- Keep the documentation. It is the basis of the material warranty and the record if anything is disputed later.
Because our crews self-perform every step of a commercial epoxy floor installation, the same people who read the slab own the mitigation decision and the finished bond. There is no gap where a testing subcontractor hands numbers to a prep subcontractor who hands a floor to an applicator and everyone points at someone else when it blisters.
Moisture is only half of the prep equation. The other half is profile — covered in our comparison of diamond grinding, shot blasting, and acid etching — and the two together account for most of the coating failures described in why epoxy floors fail. If a floor is already blistering, our guide to epoxy peeling and delamination covers how to confirm moisture as the cause.
Facilities Where Testing Is Non-Negotiable
Every slab on grade deserves testing. A few environments make it mandatory in practice:
- Older industrial buildings throughout Chicagoland, many of which predate vapor retarder practice entirely.
- Below-grade and partially below-grade space, where hydrostatic conditions can be severe.
- Washdown environments in pharmaceutical and food plants, where the floor sees water from both directions.
- Cold storage and freezer transitions, where vapor drive direction can reverse.
- Large-footprint warehouses, where a single unmitigated zone under racking is very expensive to correct after go-live. See our work in retail and warehousing facilities.
Frequently Asked Questions
How long does moisture testing take?
Calcium chloride testing per ASTM F1869 runs 60 to 72 hours plus 48 hours of building conditioning beforehand. RH probes per ASTM F2170 need the building conditioned, then a minimum equilibration period — commonly 24 hours — before reading. Plan roughly a week from decision to results, which is why testing belongs in the design phase.
Can you test through an existing coating?
No. Both standards require bare concrete. Test locations have to be ground down to clean slab. If you are evaluating an existing floor, that means creating small prepared test areas, which is normal and easily patched.
Is a new slab safer than an old one?
Not necessarily. New slabs carry construction water and generally need drying time. Old slabs have long since shed construction water but may sit over no vapor retarder at all, which produces a permanent, weather-dependent emission that no amount of age resolves. Both need testing; they just fail for different reasons.
What does moisture mitigation add to project cost?
It varies with the level of mitigation required, the product selected, and the square footage, so a real number requires the test results and a walk of the space. What is consistent is the comparison: mitigation is a defined, one-time line item, while a moisture-driven delamination means removing and reinstalling a floor you already paid for, plus the operational downtime a second shutdown costs.
Do RH probe holes damage the slab?
The holes are small, patched after testing, and structurally inconsequential in a normal slab. In post-tensioned slabs, drilling requires scanning to locate tendons first — a real consideration, and a reason to have the work done by people who know to ask about the slab’s construction.
Do you provide moisture testing as part of a quote?
Slab assessment is part of how we scope commercial and industrial flooring projects, because the mitigation decision drives both the system selection and the price. You can review system options like National Armour 100 and National PolyGuard 200 beforehand, but the slab data determines which one is appropriate. Additional technical references are in our knowledge base.
Test the Slab Before You Coat It
Moisture is the failure you can see coming. If you are planning a floor in a facility in Aurora, Joliet, or anywhere else in our Chicagoland service area, the right time to find out what your slab is emitting is before the scope is written.
Contact National Epoxy through our contact page or call (630) 919-5000 to schedule a slab evaluation.