
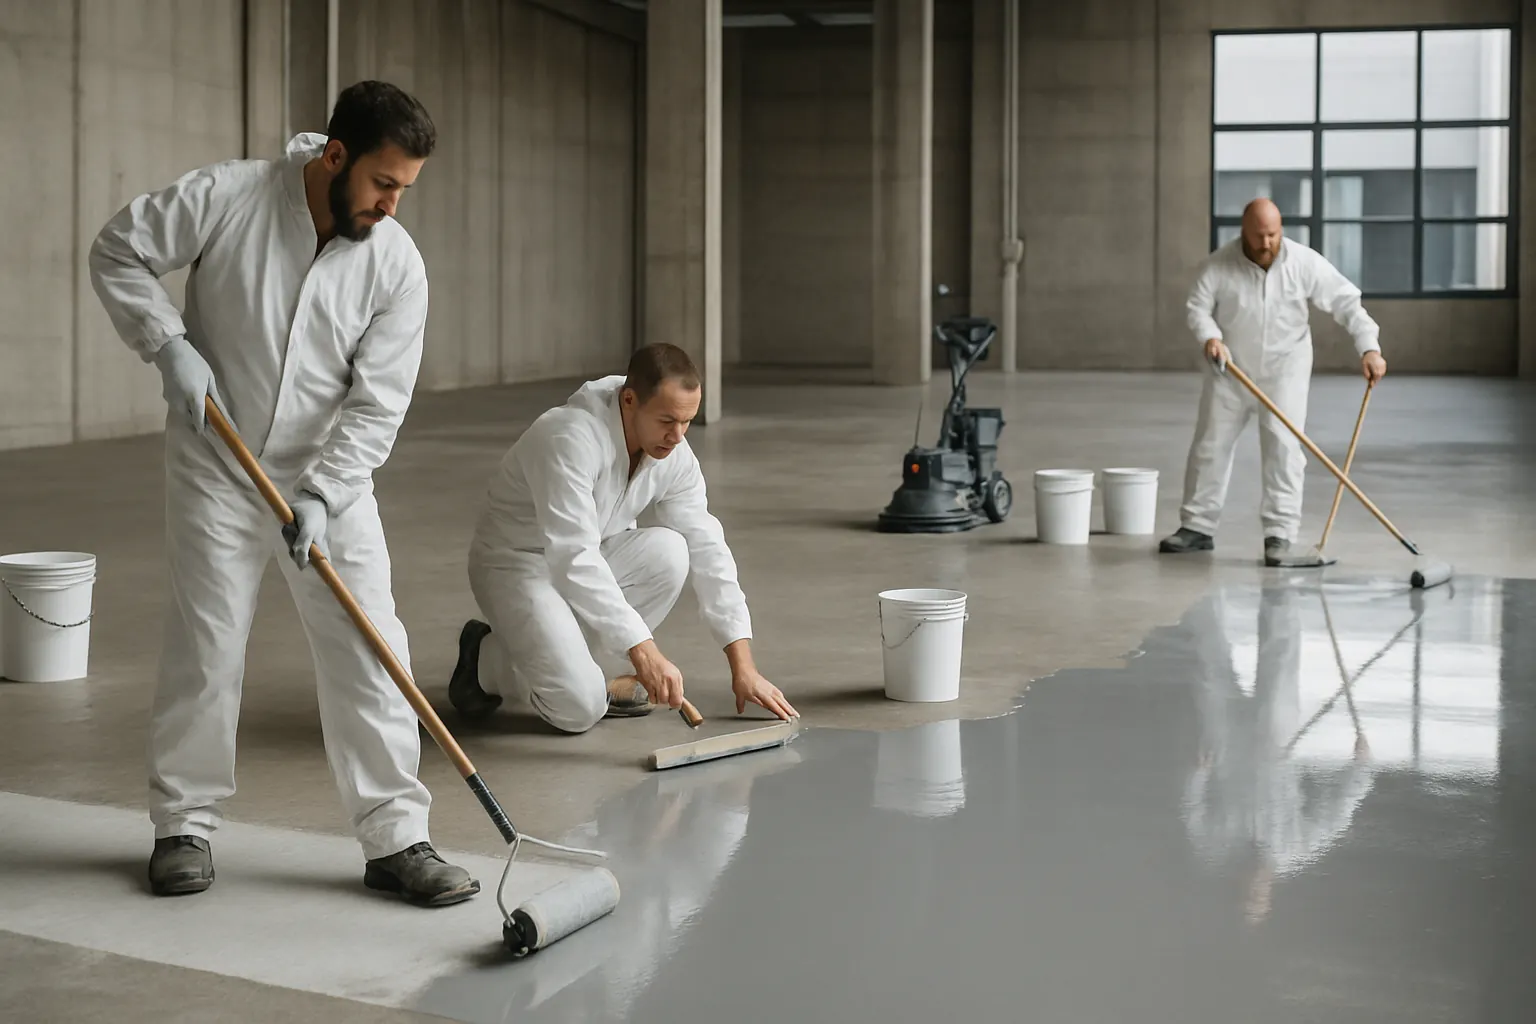
Buyers rarely get to watch an epoxy floor go in from start to finish. They see a shutdown date, some noise and dust, and then a floor. That gap is where most bad purchasing decisions happen, because two bids that look identical on paper can describe wildly different amounts of actual work.
A commercial epoxy installation is a sequence of five dependent stages. Each one only works if the one before it was done correctly, and none of them can be compressed without cost showing up later. Skip prep and the coating delaminates. Skip moisture testing and vapor pushes the film off the slab. Rush the cure and the first forklift leaves tire marks that never come out.
Here is what each stage involves, what a competent crew is doing during it, and what you should be able to see and verify as the owner. This is the process our crews follow on every commercial and industrial epoxy floor installation, whether it is a 2,000 square foot commercial kitchen or a 200,000 square foot plant.
Step 1: Assessment and system selection
Nothing gets specified from a phone call and a square footage number. The first stage is a site visit where the installer is trying to answer a specific set of questions about your slab and your operation.
What gets inspected
- Substrate condition. Age, finish, cracks, joints, spalls, previous repairs, and whether an existing coating is present and how well it is bonded.
- Contamination. Oil, grease, sugars, salts, and chemical staining. Oil-saturated concrete in a truck bay or automotive service facility changes both the prep plan and the primer.
- Moisture. Whether there is a vapor barrier under the slab, whether the slab is on or below grade, and what the moisture numbers actually are.
- Flatness and drainage. Where water goes now, and where it needs to go afterward. Drains, trench, and slope work has to be decided before, not during.
- Use profile. Traffic type and weight, chemical exposure, thermal exposure, cleaning regimen, slip requirements, and any regulatory constraints.
Testing that should happen at this stage
Moisture testing is the one nobody should skip. Relative humidity probes installed in the slab per ASTM F2170, or calcium chloride tests per ASTM F1869, produce numbers that determine whether you need a moisture-mitigating primer. Our article on concrete moisture testing and MVER covers what those methods measure and where they mislead people.
A mock-up or test patch is also worth doing on anything large or unusual. Grind a small area, apply the intended primer, let it cure, and pull it. That single square foot tells you more about adhesion than any amount of discussion.
Then the system gets picked
System selection is a matching exercise, not a preference. Thermal shock from steam cleaning points toward urethane cement. Aggressive chemical exposure in a pharmaceutical or life sciences environment points toward a chemically resistant build with a resistant topcoat. UV exposure at a dock door or through skylights rules out standard aromatic epoxy as a final wear layer. The trade-offs between chemistries are laid out in our comparison of epoxy, polyaspartic, urethane and polyurea.
Step 2: Surface preparation
Prep is the largest single share of labor on most jobs and the first thing a low bid cuts. It has three separate objectives, and all three have to be met.
Remove everything that is not concrete
Old coatings, mastic, curing compounds, densifiers, sealers, and adhesives all have to come off mechanically. Chemical strippers and solvent wipes move contamination around; they do not reliably remove it. On a floor with a failed prior coating, partial removal is worse than none — the new system inherits the weak bond underneath.
Create the specified surface profile
Diamond grinding, shot blasting, or scarifying opens the surface so the coating can mechanically key into it. The target is a stated CSP number matched to the system’s thickness, verified against replica chips before priming. Our full explanation of concrete surface profile and what the spec requires covers how each level is achieved and how to check it yourself.
Repair the substrate
Cracks get chased out and filled with a rigid or semi-rigid filler depending on whether they are static or moving. Control joints get treated — filled, honored, or reconstructed — based on how the floor will be used. Spalls and popouts get patched with compatible repair mortar. Where the design calls for it, integral cove base is formed at wall junctions, which is standard in food and beverage plants where washdown water must not find a seam.
Prep also includes containment: poly walls, negative air, HEPA dust collection, and protection of equipment and adjacent finishes. In an occupied building this is not optional detail work, it is the difference between a floor project and a plant-wide complaint.
Step 3: Priming and moisture mitigation
The primer is a low-viscosity resin that penetrates the open concrete and creates the bridge between substrate and build coat. It is the coat that actually determines whether the floor stays down.
Primer selection depends on what the assessment turned up:
- Standard epoxy primer on a clean, dry, properly profiled slab with acceptable moisture numbers.
- Moisture-mitigating primer when vapor emission or internal relative humidity exceeds what the system tolerates. These are typically applied as a dedicated membrane at a specified thickness and are not a place to economize.
- Oil-tolerant primer where hydrocarbon contamination has penetrated and cannot be fully removed.
- Slurry primer — primer blended with aggregate — where the slab is porous, pitted, or needs a small amount of leveling before the build coat.
Timing matters here more than anywhere else in the job. Primer has a recoat window: a period during which the next coat will chemically bond into it. Miss that window and the primer cures hard, and the following coat sits on top mechanically rather than bonding into it. That is why crews plan the day around the primer, not the other way around, and why weather and slab temperature get checked before the kit is mixed.
Step 4: Build coats and broadcast
The build coat is where thickness and performance come from. What happens in this stage depends entirely on the system.
Roller or squeegee-applied build
Mid-build epoxy is mixed in measured kits, poured out, spread with a notched squeegee to control thickness, and back-rolled to level and de-aerate. Wet film thickness gets checked with a gauge as the work proceeds, because once it cures you can only measure it destructively. The relationship between wet film, dry film, and solids content is explained in our article on mil thickness and 100% solids.
Broadcast systems
For flake, quartz, or aluminum oxide systems, media is broadcast into the wet base coat to refusal — meaning until the surface will not absorb any more. After cure, the excess is swept and vacuumed off, and the surface is scraped or lightly ground to knock down sharp points. Then a grout or intermediate coat fills the voids between the media.
Broadcast is what gives a floor its texture and slip resistance, and the density of the broadcast is directly tied to how the floor performs underfoot in a wet area. It is also why quartz systems are common in healthcare facilities and commercial kitchens, where a floor has to be cleanable and non-slip at the same time.
Mortar and self-leveling systems
Urethane cement mortars are trowel-applied at heavy thickness over deeply profiled substrate. Self-leveling epoxy is poured, spread to a gauged thickness, and spiked-rolled. Both are unforgiving of timing and require enough crew on the floor to keep a wet edge across the entire pour.
Step 5: Topcoat, cure, and return to service
The topcoat is the wear surface and the chemical barrier. It also carries the finish characteristics — gloss level, color stability, and slip profile.
The industry-standard approach on most commercial floors is an epoxy body with a urethane or polyaspartic topcoat. Epoxy provides build, adhesion, and economy; the topcoat provides abrasion resistance, UV stability, and chemical resistance that aromatic epoxy alone does not have. On a floor that sees daylight, a urethane high-gloss topcoat prevents the ambering that makes an uncoated epoxy surface turn yellow.
Then it cures. Cure has three separate milestones, and confusing them causes most of the post-installation damage we see:
| Milestone | What it means | Typical timing at around 70°F |
|---|---|---|
| Tack free | Surface no longer transfers; dust will not embed | Commonly a few hours |
| Light foot traffic | Crew and inspection walking permitted | Commonly 12–24 hours |
| Vehicle and rack traffic | Forklifts, pallet jacks, equipment reset | Commonly 48–72 hours |
| Full chemical cure | Coating reaches stated chemical resistance | Commonly 5–7 days |
These are approximate and shift substantially with temperature. Cooler slabs slow the reaction; a cold Chicagoland warehouse in February can push every one of those numbers out. Warmer conditions accelerate cure but shorten pot life, which changes how the crew stages material. Any installer quoting a return-to-service date without asking about building temperature is guessing.
Putting racking or vehicles back too early is the most common owner-caused failure. The coating may feel hard while the crosslinking is still developing, and point loads at that stage leave permanent indentation. Sequencing this realistically is the core of our guide to minimizing facility downtime during an epoxy floor installation.
What happens between the steps
The five stages get the attention. The conditions between them decide the outcome.
- Temperature and dew point. Resin will not cure properly below its stated minimum, and applying over a slab within a few degrees of dew point invites moisture condensation at the bond line and amine blush on the surface.
- Humidity. High ambient humidity can cause blush and hazing on epoxy topcoats and dramatically accelerates some polyaspartics.
- Cleanliness between coats. Dust that settles on an uncured coat becomes a permanent inclusion. Foot traffic across a primed floor tracks contamination into it.
- Recoat windows. Every product has a minimum and maximum time before the next coat. Exceeding the maximum means abrading the cured surface before proceeding.
- Mix discipline. Two-component resins are ratio-sensitive. Partial kits, inadequate mixing time, and unmixed material scraped from the sides of a pail all produce soft spots.
Most of the root causes in our breakdown of why epoxy floors fail trace back to this list rather than to the products themselves.
Documentation and closeout
A commercial floor should come with a paper trail. At minimum, ask for photographs of the prepared substrate, the moisture test results with method and date, the batch numbers of the materials installed, the coverage rates achieved, and the written maintenance instructions for the specific system.
Maintenance instructions matter more than owners expect. Cleaning a chemically resistant floor with the wrong high-pH cleaner, or using the wrong pad on an autoscrubber, will dull a topcoat in months. The correct routine is system-specific, and it should be handed over in writing along with the recommended recoat interval for the wear layer.
Red flags when you are comparing bids
- No site visit, or a number quoted purely from square footage.
- No moisture testing in the scope, or testing performed before prep rather than after.
- Prep described as “clean and etch” or “clean and prep” with no CSP number.
- No mention of crack, joint, and spall treatment — that scope always exists, and if it is not in the bid it becomes a change order.
- Total system thickness not stated in mils, or stated in gallons without coverage rate.
- A return-to-service promise made before anyone asked about building temperature.
- Prep or application subcontracted to a crew the bidder cannot name.
Frequently Asked Questions
How long does a commercial epoxy floor installation take?
It depends far more on area, prep condition, and cure schedule than on application speed. A straightforward few-thousand-square-foot space with sound concrete is commonly a multi-day job; a large plant with heavy removal, repairs, and phased zones runs considerably longer. The single biggest variable is what has to come off the slab before anything goes on it.
Can the floor be installed in sections while we keep operating?
Usually yes. Zoned or phased installation is standard practice in warehouses, plants, and hospitals. It requires containment, careful transition detailing between zones, and a realistic schedule, but it avoids a full shutdown. Facilities across our Chicagoland service area are routinely done this way.
Why does prep cost so much of the total?
Because it is labor and equipment intensive, and because it is the part that determines longevity. Grinding, blasting, containment, dust removal, and substrate repair take crew hours. Material is a comparatively small share of a commercial floor’s cost. A bid that is dramatically cheaper than the others has almost always found its savings in this stage.
What temperature does the building need to be?
Most systems require slab and ambient temperature above a stated minimum — commonly in the 50s Fahrenheit — with the slab held at least a few degrees above dew point during application and early cure. In an unheated Joliet or Elk Grove Village warehouse in winter, temporary heat is part of the scope, and it needs to be indirect-fired so combustion moisture does not end up in the coating.
Do you have to remove the old epoxy floor?
If the existing coating is well bonded across the whole area, sound, and compatible, it can sometimes be abraded and recoated. That is a decision made with adhesion testing, not by eye. If bond is inconsistent, full mechanical removal is the correct answer, because the new system cannot be stronger than what is under it.
Who does the actual work?
Our own crews. National Epoxy self-performs every stage — assessment, prep, priming, build, and topcoat — using American-made NexGen Polymers systems. That means the people who ground the floor are the people accountable for how it performs. You can see the full range of systems and where each one fits in our knowledge base.
Talk to the crew that will actually be on your floor
If you are planning a floor for a plant, warehouse, kitchen, lab, or service facility, the most useful next step is a site walk: real numbers on your slab, an honest assessment of what prep it needs, and a system recommendation that matches how the space gets used. National Epoxy has been installing commercial and industrial floors for over 30 years across Chicagoland, Northwest Indiana, and Southeast Wisconsin.
Start the conversation through our contact page or call (630) 919-5000.