
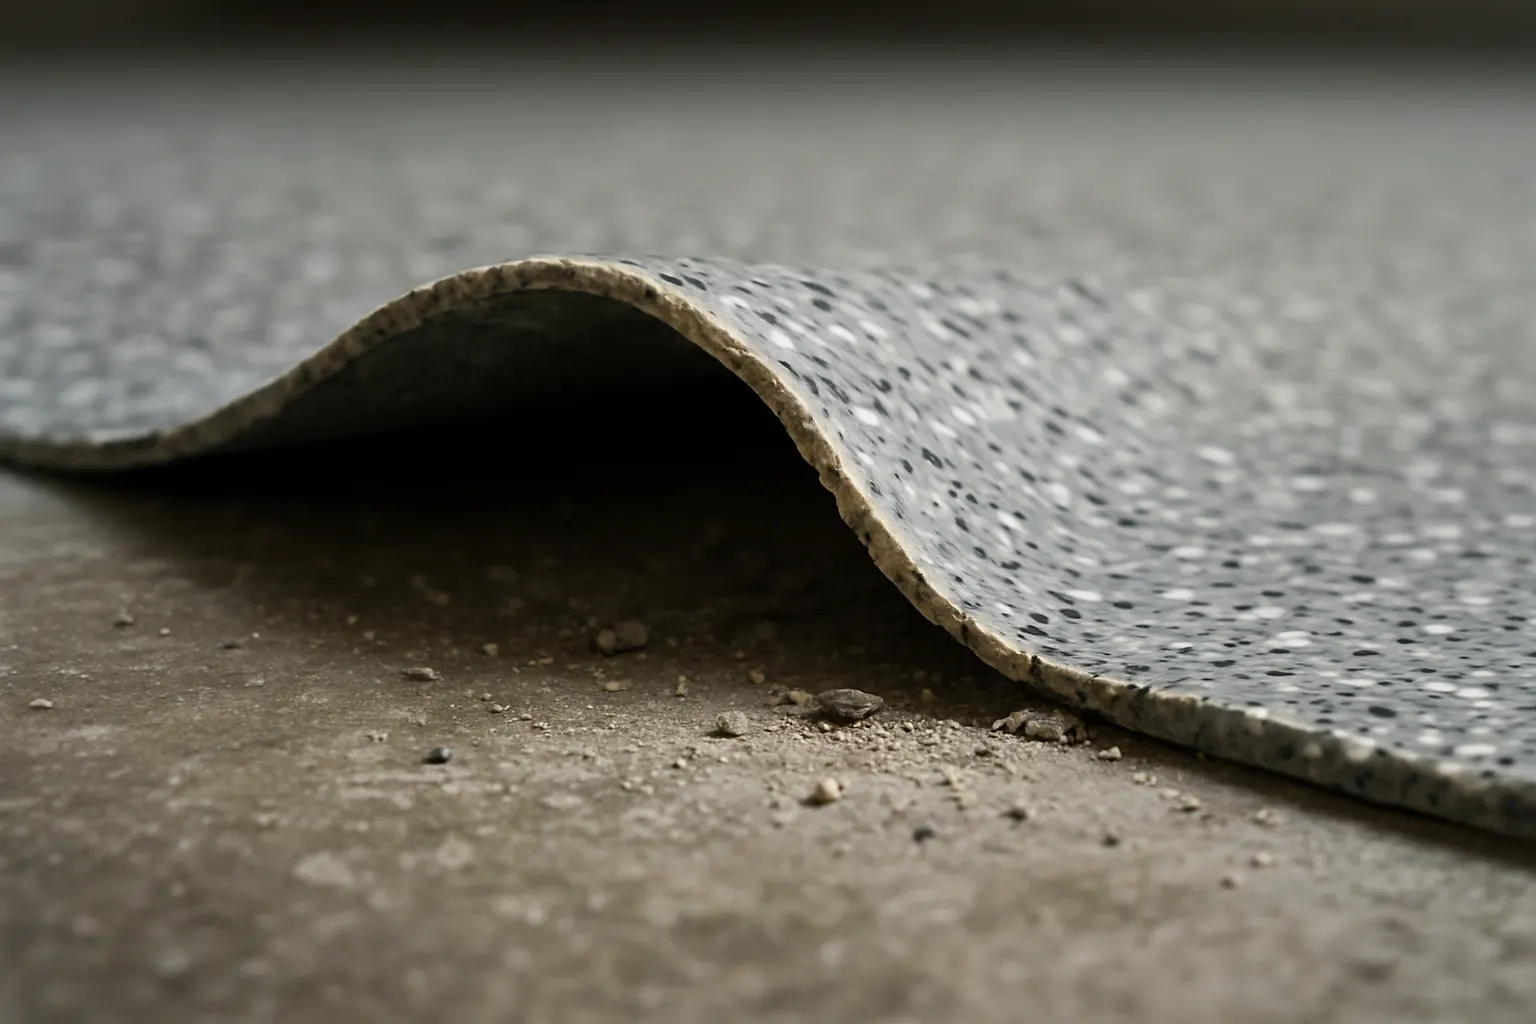
Peeling epoxy is a symptom, not a diagnosis. A floor that lifts in sheets under a pallet jack and a floor that blisters in quiet circles across an empty bay look like the same problem to a facility manager, but they have different causes, different fixes, and very different costs. Re-coating without identifying which one you have is how a building ends up paying for the same floor three times.
The useful question is not “why is my epoxy peeling.” It is “which interface failed.” Every resinous floor is a stack: concrete, then primer, then body coat, then topcoat. A failure happens at exactly one of those boundaries, and the boundary tells you what went wrong. You can read it off a chipped-out sample in about ninety seconds.
This article covers how to identify the failure interface, what causes each type, how to test rather than guess, and what an honest repair scope looks like for a commercial or industrial slab.
Delamination vs. Peeling vs. Blistering: The Terms Matter
These get used interchangeably on job sites, and the imprecision hides useful information.
- Adhesive failure (delamination): The coating separates cleanly from the concrete. Flip the chip over — the underside is smooth, glossy, and shows the negative of the slab. No concrete came with it. This is a bond problem.
- Cohesive failure of the concrete: The coating comes up with a layer of concrete stuck to its back. The bond was stronger than the substrate. This is a slab-strength or laitance problem, not a coating problem.
- Intercoat delamination: The topcoat peels but the base coat is still locked down. This is a recoat-window or intercoat-contamination problem.
- Blistering: Domes, bubbles, or osmotic blisters that may or may not have ruptured. Pressure is being generated under or within the film. Usually moisture, sometimes outgassing.
- Peeling at edges only: Undercutting at terminations, joints, or drains. A detailing failure, often with water involved.
Get this classification right and you have already eliminated most of the possible causes. Get it wrong and you will spend money on the wrong remedy.
Cause 1: Inadequate Surface Profile (Adhesive Failure)
Epoxy bonds mechanically to concrete. It needs an open, textured surface — typically a Concrete Surface Profile of CSP 3–5 for high-build commercial systems — to key into. A steel-troweled slab is closed and dense. A slab that was only acid-etched or lightly scuffed is barely better.
The signature of a profile failure is unmistakable: large, continuous sheets that release with almost no effort, a shiny slab face underneath, and a coating underside that is smooth enough to see reflections in. Often the floor performed fine for months and then let go all at once when a turning forklift applied real shear load.
Profile failures also concentrate where prep was hardest to do: perimeters, under racking, behind columns, inside doorways. If the middle of your bay is solid and the last three feet along every wall are lifting, you are looking at prep coverage, not product.
The only remedy is full mechanical re-preparation. Our breakdown of diamond grinding versus shot blasting versus acid etching explains which method produces which profile and why etching is the wrong tool for most industrial slabs.
Cause 2: Moisture Vapor Drive (Blistering, Then Delamination)
This is the single most common cause of delamination on slabs on grade, and it is the one that most often defeats an otherwise flawless installation.
Concrete on grade is permanently connected to ground moisture. Water moves upward through the slab as vapor and exits at the surface. Put a low-permeance epoxy film over that surface and the vapor has nowhere to go. It accumulates at the bond line, dissolves any residual alkaline salts it finds, and generates osmotic pressure that physically pushes the coating off the concrete.
How to recognize it
- Round or oval blisters rather than straight-edged sheets.
- Liquid — often slightly alkaline and slick — inside blisters when punctured.
- Failure that appears or worsens seasonally, especially after a wet spring or when the water table rises.
- Damp, dark concrete under the released area even when the room is dry.
- Failure concentrated in low spots, near exterior walls, at slab penetrations, or over former drain lines.
Vapor drive is measurable before you coat. Calcium chloride testing (ASTM F1869) reports moisture vapor emission rate in pounds per 1,000 square feet per 24 hours. Relative humidity probes (ASTM F2170) read internal slab RH at 40% depth and are generally the more reliable indicator. Manufacturer limits for conventional systems typically fall in the range of about 3 lbs MVER and 75–85% internal RH, but the number that governs is the one on the specific system’s data sheet. We cover the full protocol in concrete moisture testing and MVER.
When readings exceed limits, the fix is a moisture-mitigating primer or vapor-suppression membrane rated for the measured level. Waiting for a slab on grade to “dry out” is not a strategy — it will never stop emitting.
Cause 3: Contamination and Bond Breakers
Anything sitting between resin and concrete is a bond breaker, whether it was applied deliberately or soaked in over twenty years of production.
The usual suspects on commercial and industrial slabs:
- Curing compounds sprayed on new construction slabs. They are membrane-formers by design.
- Silicate or silane sealers applied by a previous owner or the general contractor.
- Oil, hydraulic fluid, and coolant that has penetrated the pore structure, common in automotive service bays and manufacturing plants.
- Silicone from mold-release, lubricants, or nearby caulking — the worst of the group because tiny amounts cause craters.
- Laitance — the weak, fines-rich layer brought to the surface during finishing.
- Grinding dust left in the profile because the prep equipment had no vacuum, or because the floor was not vacuumed between prep and priming.
Contamination failures tend to be patchy and irregular rather than uniform. You get a good floor with islands of failure that follow the history of the building. Silicone in particular shows up as craters and fisheyes during application, which we cover in bubbles, pinholes, and fisheyes in epoxy floors.
Cause 4: Missed Recoat Window (Intercoat Delamination)
If the topcoat is peeling but the base coat is welded to the slab, stop looking at the concrete. The problem is between layers.
Most epoxies have a maximum recoat time — often measured in hours to a couple of days depending on the system and temperature — during which the previous coat remains chemically receptive to the next. Past that window, the surface has fully crosslinked and the new layer has nothing to react with. It bonds mechanically at best.
Weekend delays, weather holds, and change orders are the usual culprits. So is amine blush: a waxy or greasy surface haze that forms when amine hardeners react with atmospheric moisture and carbon dioxide, particularly in cool, humid conditions. Coat over blush and the topcoat is bonded to a film of soap.
The remedy when the window is missed is straightforward but not free: abrade the entire cured surface — a light mechanical scuff — and, if blush is suspected, wash it off before abrading. Skipping that step to stay on schedule is how intercoat delamination happens.
Cause 5: Application Outside the Environmental Window
Slab temperature, not air temperature, governs. Concrete lags ambient by hours, and a cold slab in an unconditioned Chicagoland warehouse in March can sit twenty degrees below the room.
Two failure modes come from this:
- Dew point condensation. If the slab is at or within roughly 5°F of the dew point, invisible moisture condenses on the surface and the coating is applied over water. Bond suffers immediately.
- Incomplete cure. Epoxy cure is temperature-dependent; the reaction slows dramatically as temperature drops. Below the system’s minimum, crosslinking may never complete, leaving a soft floor with poor adhesion and poor chemical resistance that does not recover when the building warms.
Both are preventable with an infrared thermometer, a hygrometer, and the discipline to reschedule. This is one of the reasons our crews self-perform every step of a commercial epoxy installation — the person tracking slab temperature is the person who owns the outcome.
Cause 6: Substrate Weakness and Detailing Failures
Sometimes the bond is fine and the concrete is not. A slab with a weak, dusty, or over-troweled surface layer will hand you a cohesive failure: coating comes up with a quarter-inch of concrete attached. No coating adheres better than the material it is adhered to. The fix is deeper prep to reach sound concrete, sometimes with a repair mortar or resurfacer.
Detailing failures are the other quiet category. Coating that terminates at a wall without a keyed edge, that bridges rigidly across a moving control joint, or that stops short of a drain throat will fail at those specific lines and nowhere else. In washdown environments, integral cove base and coating carried into the drain are not upgrades — they are what keeps water from getting underneath, which is why they are standard in food and beverage and pharmaceutical facilities.
Reading the Failure: A Diagnostic Table
| What you see | Underside of the chip | Most likely cause | Corrective path |
|---|---|---|---|
| Large sheets lifting, especially at turns | Smooth, glossy, no concrete | Inadequate surface profile | Full mechanical re-prep to CSP 3–5 |
| Round blisters, seasonal, damp concrete | Clean, sometimes wet or filmy | Moisture vapor drive | Test MVER/RH, install rated mitigation |
| Irregular patches, craters nearby | Clean but stained or oily | Contamination / bond breaker | Remediate, remove contaminated concrete, re-prep |
| Topcoat peels, base coat solid | Cured epoxy, not concrete | Missed recoat window or amine blush | Wash, abrade full surface, recoat |
| Coating up with concrete attached | Concrete fragments bonded on | Weak or laitance-rich substrate | Grind to sound concrete, resurface if needed |
| Failure only at edges, joints, drains | Varies | Detailing / undercutting | Key terminations, honor joints, cove and drain detail |
| Soft, tacky, dents under load | Uncured or gummy | Off-ratio or under-mixed material | Full removal; there is no repair for off-ratio epoxy |
How to Test Instead of Guess
A proper failure investigation on a commercial floor is not expensive relative to re-coating the wrong way. It should include:
- Mapping. Mark every failed area on a floor plan. The pattern — perimeter, low spots, traffic lanes, near penetrations — is evidence.
- Chip-out samples from several locations, examined for which interface released.
- Adhesion pull testing (ASTM D7234 or D4541) on sound areas to quantify remaining bond strength, not just eyeball it.
- Moisture testing to ASTM F2170 and/or F1869, with enough test locations for the square footage.
- pH testing of the slab surface, since high alkalinity accompanies moisture problems and attacks some resins.
- Service condition review — what chemicals, temperatures, and equipment actually hit this floor today, versus what the original spec assumed.
That last item catches more “mystery” failures than people expect. Facilities change process. A floor specified for dry storage that now gets steam-cleaned nightly is failing from thermal shock, and no amount of prep would have prevented it. The fix there is a different system — a urethane mortar or a system like National PolyGuard 200 for chemical and thermal duty, rather than another coat of the same thing. More diagnostic reference material is collected in our epoxy flooring knowledge base.
What a Legitimate Repair Scope Looks Like
Spot repairs are viable when the failure is genuinely localized and the cause is understood and corrected. Feather-edging a patch into a sound floor rarely holds under industrial traffic, so repairs generally get cut back to a clean saw line or a mechanically abraded transition zone.
When failure exceeds roughly a quarter of the floor area, or when moisture is the cause, partial repair is usually false economy. The uncorrected condition is still under the rest of the floor and it is on the same clock. Full removal, re-prep, mitigation where indicated, and reinstallation with a correctly specified system — such as the high-build National Armour 100 for traffic-bearing industrial duty — is the honest recommendation more often than contractors like to give it.
The other nine root causes of coating failure, including specification and film-thickness errors, are covered in why epoxy floors fail.
Frequently Asked Questions
Can I just recoat over the peeling areas?
Only if the loose material is fully removed and the underlying cause is fixed. Coating over a delaminating floor produces a new floor bonded to a failing one, and it will release along the same lines. If the cause was moisture, recoating without mitigation guarantees a repeat.
My floor bubbled but never peeled. Is that urgent?
Intact blisters are a warning that pressure is being generated under the film. They will eventually rupture under traffic and become open failures that collect water and debris. Blistering that appears seasonally is a strong moisture indicator and should be tested rather than watched.
How much of a floor has to fail before full replacement makes sense?
There is no universal threshold, but the practical trigger is cause rather than area. Localized damage from a specific incident can be repaired. Systemic causes — inadequate profile across the slab, unmitigated vapor drive, contamination throughout — mean the sound-looking portion is failing on a delay, and repairing around it is spending money twice.
Does peeling mean the last contractor used a cheap product?
Usually not. In the field, the large majority of delamination traces to preparation, moisture, environmental conditions during application, or specification mismatch rather than to defective resin. That is not a defense of poor materials — it is a statement about where the risk actually sits.
How long after installation should a floor be walked and loaded?
Cure schedules are system-specific and temperature-dependent. Light foot traffic is typically permitted well before full chemical cure, and heavy equipment or forklift traffic considerably later. Loading a floor before it reaches the specified cure state can cause damage that looks like an adhesion failure months down the line, so the published schedule is worth respecting even when production pressure says otherwise.
Do you assess floors installed by other contractors?
Yes. We evaluate failed floors throughout Chicagoland, including Chicago, Schaumburg, and the rest of our service area reaching into Northwest Indiana and Southeast Wisconsin.
Get the Failure Diagnosed Before You Buy Another Floor
If your floor is lifting, blistering, or peeling in patches, the money is best spent first on understanding why. National Epoxy has been installing commercial and industrial epoxy flooring for over 30 years, and our crews self-perform prep, moisture assessment, application, and detailing — so the diagnosis and the fix come from the same people.
Start with our contact page or call (630) 919-5000 to arrange a site evaluation.